

Create Project
In PentestPad, a project serves as a structured workspace used to organize tasks, manage resources, document identified vulnerabilities, and generate reports.
Steps to Create a Project
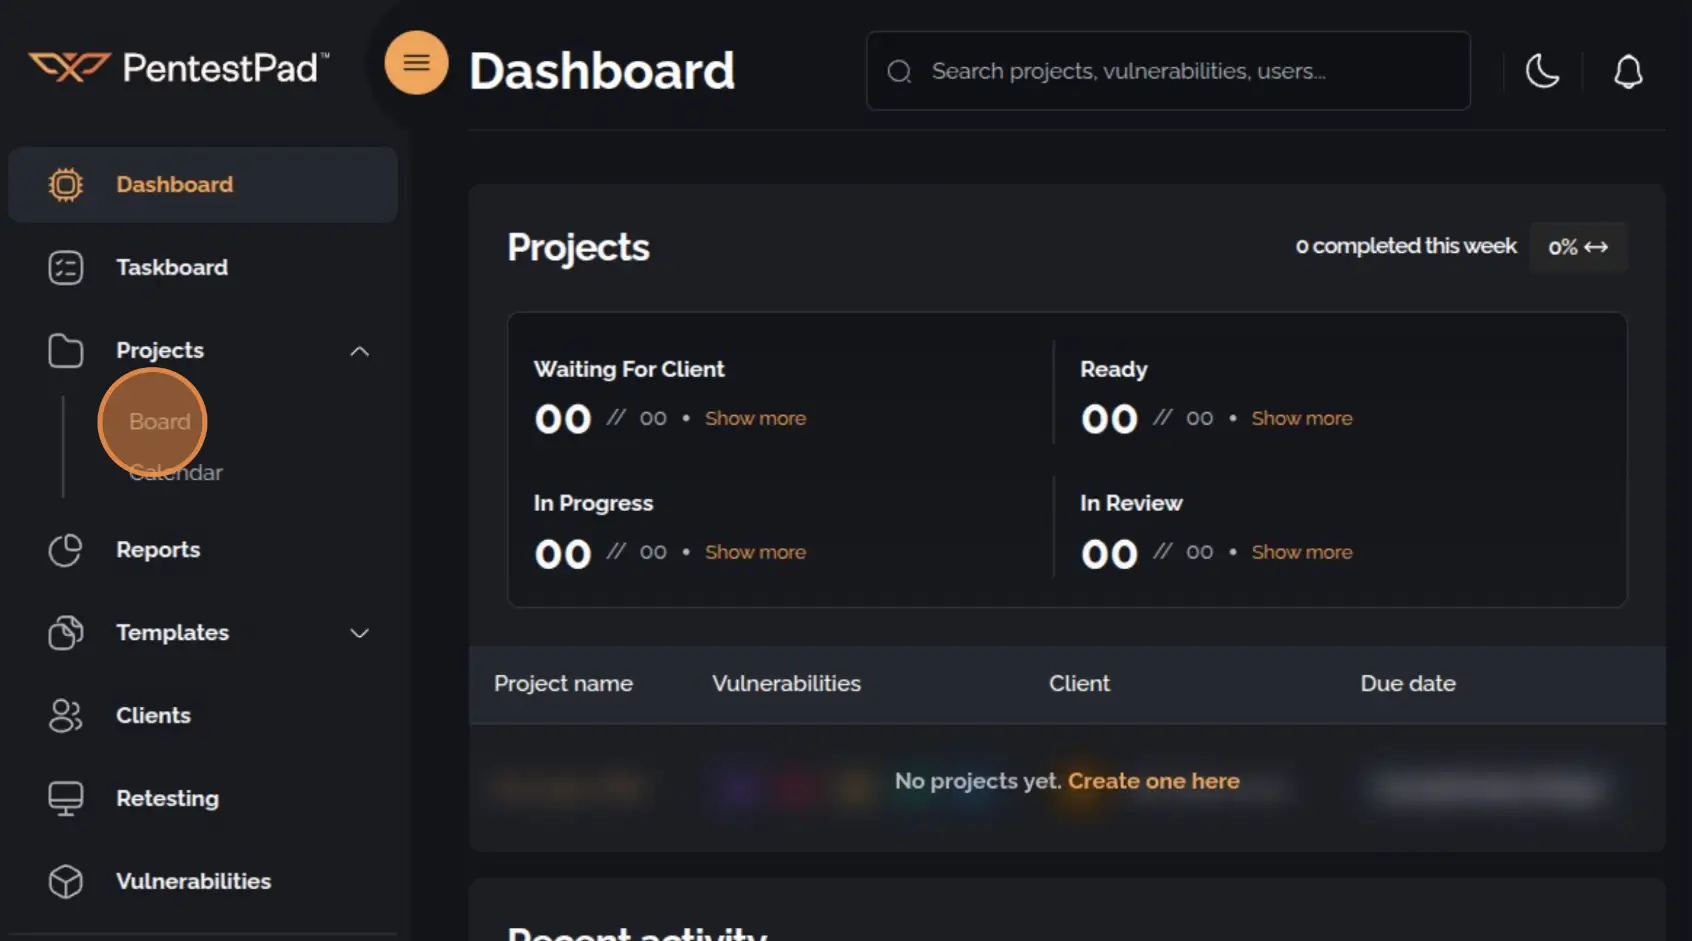
Section titled “Steps to Create a Project”1. Navigate to the Project Board
Section titled “1. Navigate to the Project Board”Open the sidebar navigation menu, expand the Projects dropdown, and select Board.
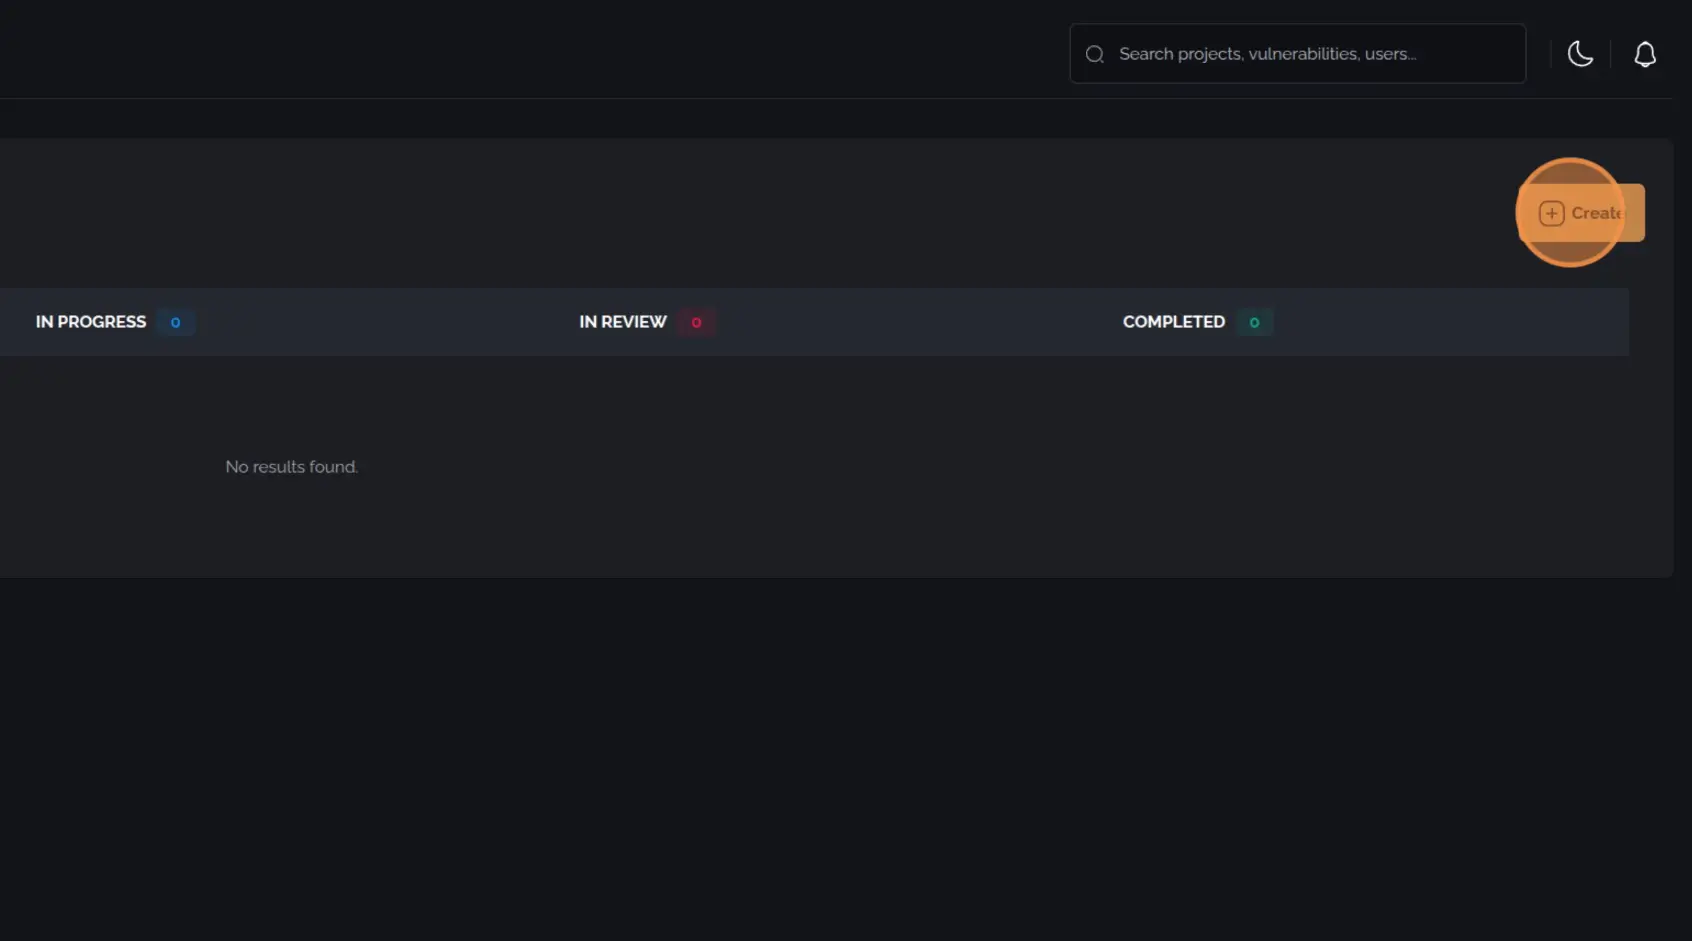
2. Initiate Project Creation
Section titled “2. Initiate Project Creation”On the Project Board page, click the Create + button located in the top-right corner of the Board section.
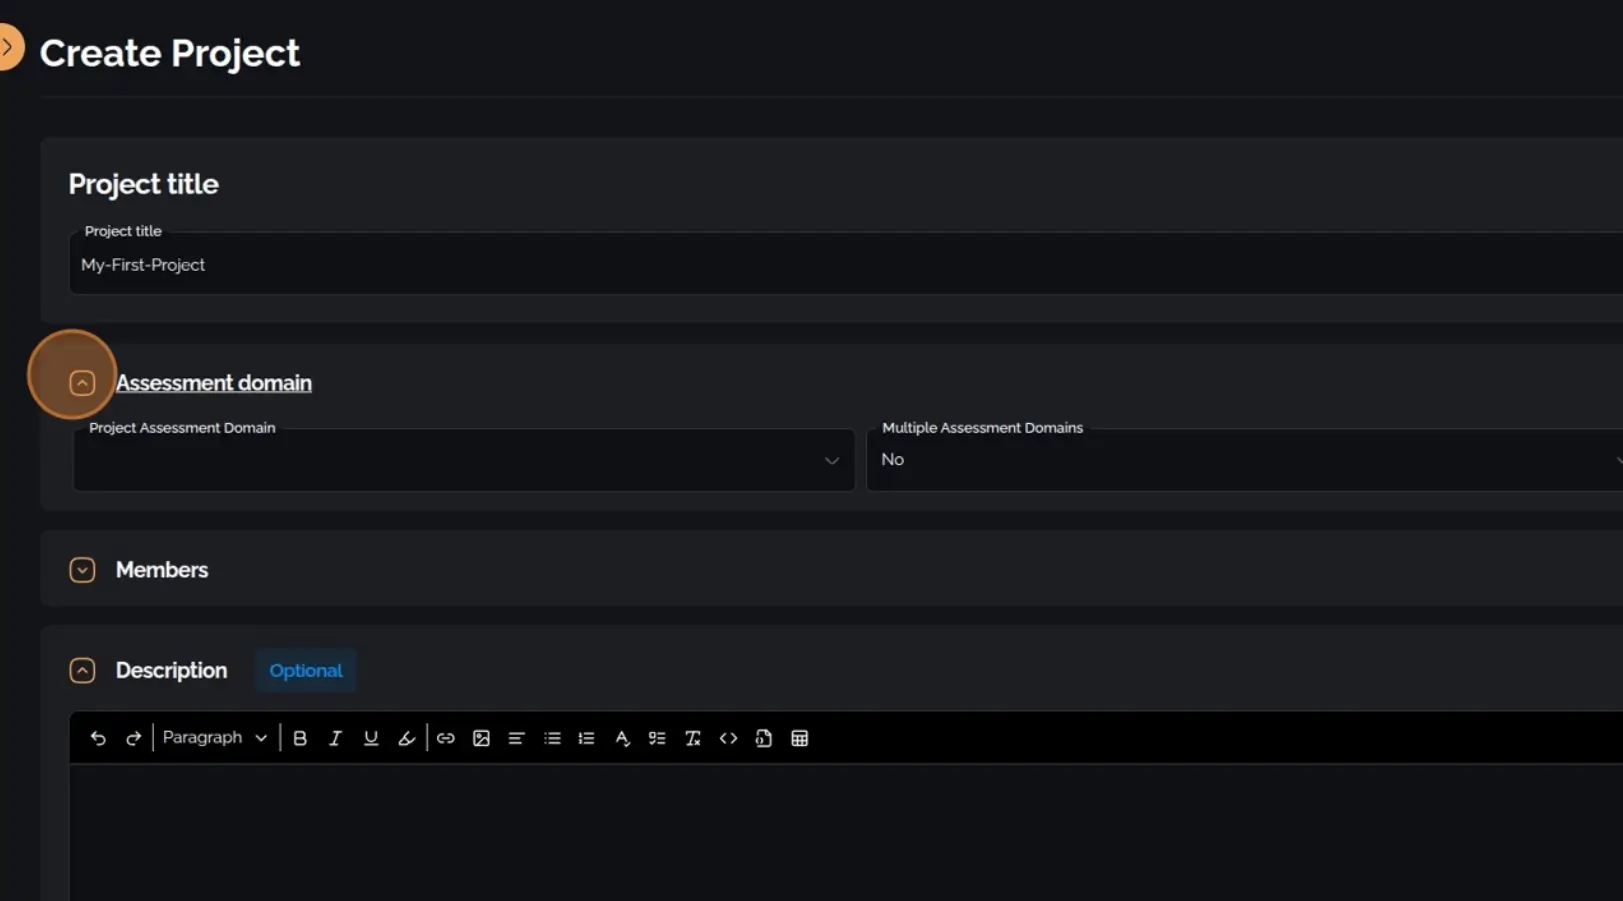
3. Enter a Project Title
Section titled “3. Enter a Project Title”Provide a clear and descriptive title for the project.

4. Define the Assessment Domain
Section titled “4. Define the Assessment Domain”Specify the primary domain or scope of the assessment.
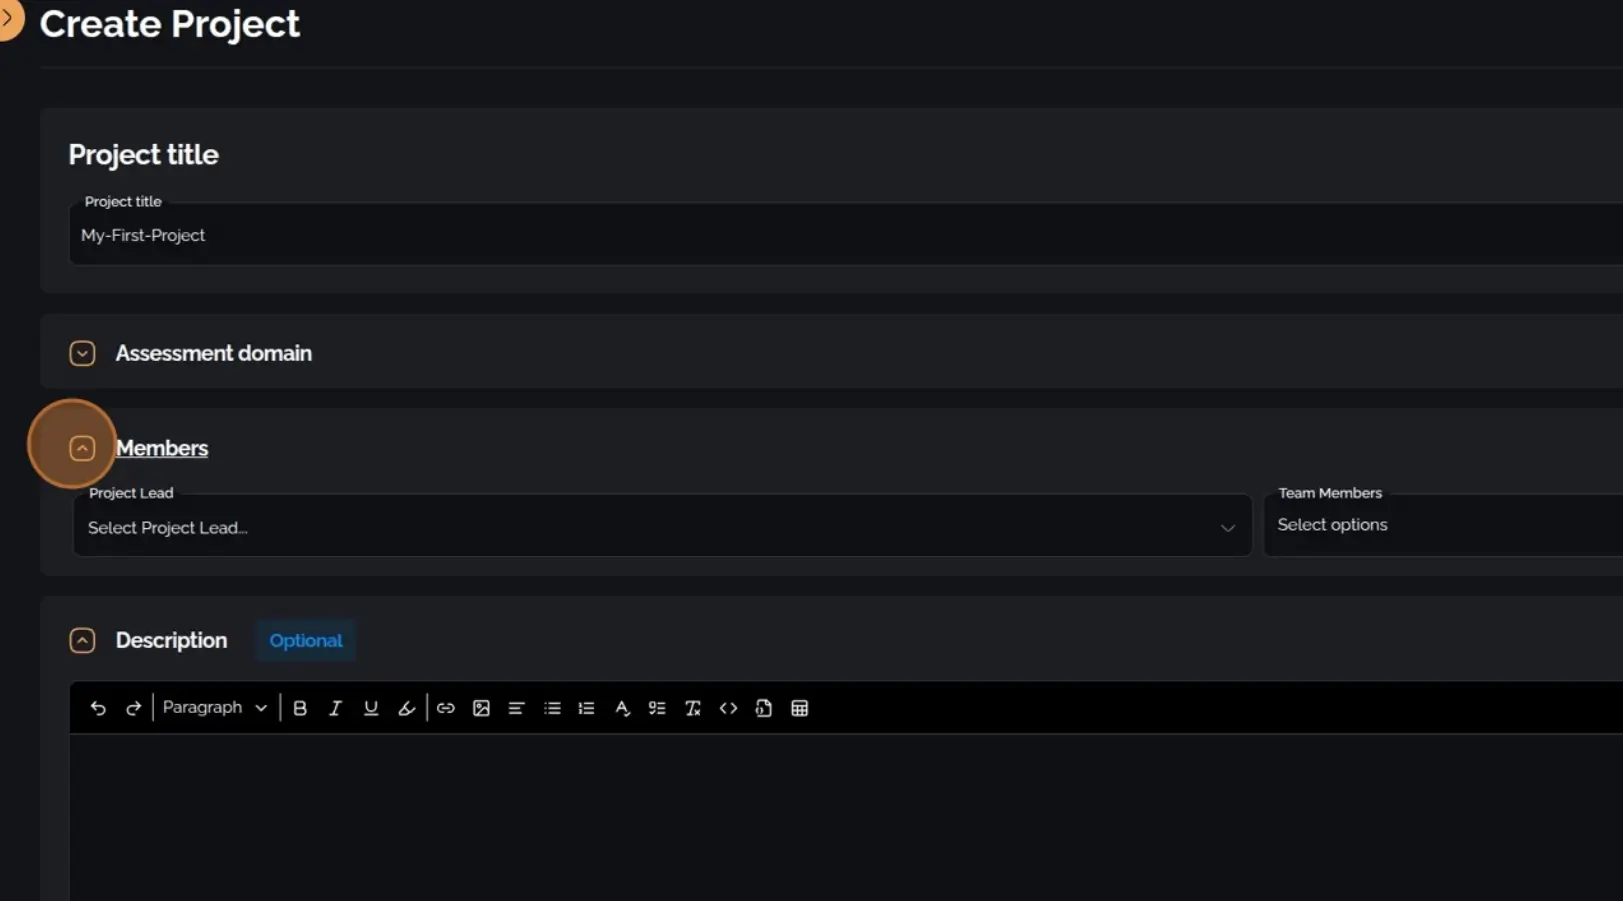
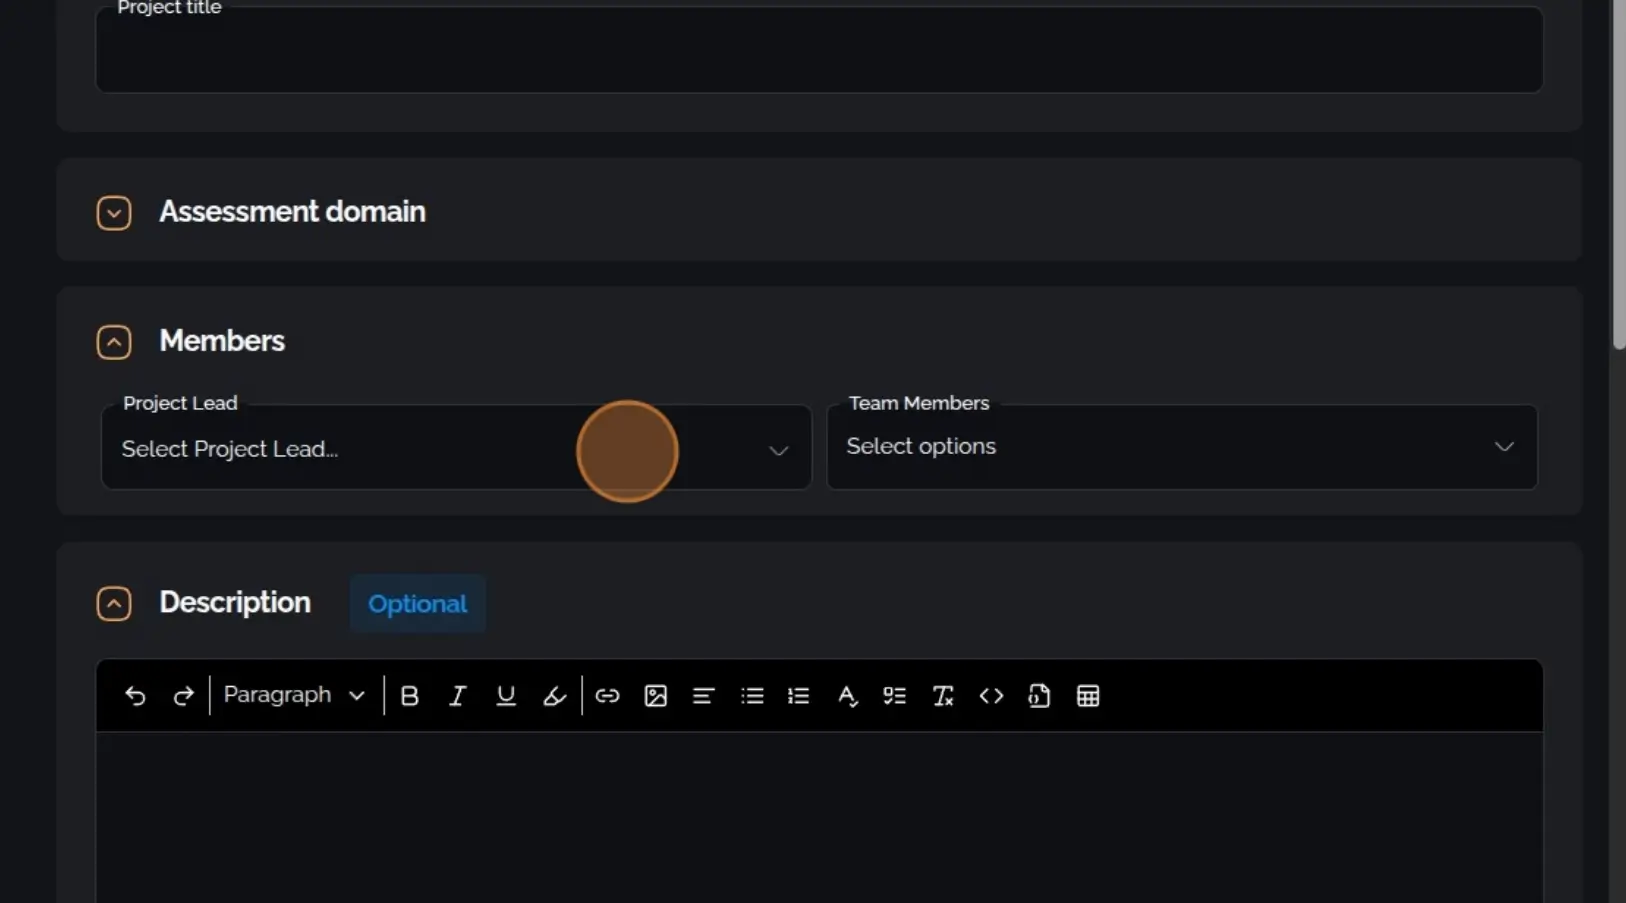
5. Assign a Project Lead and Team Members
Section titled “5. Assign a Project Lead and Team Members”Select a project lead and assign relevant team members.
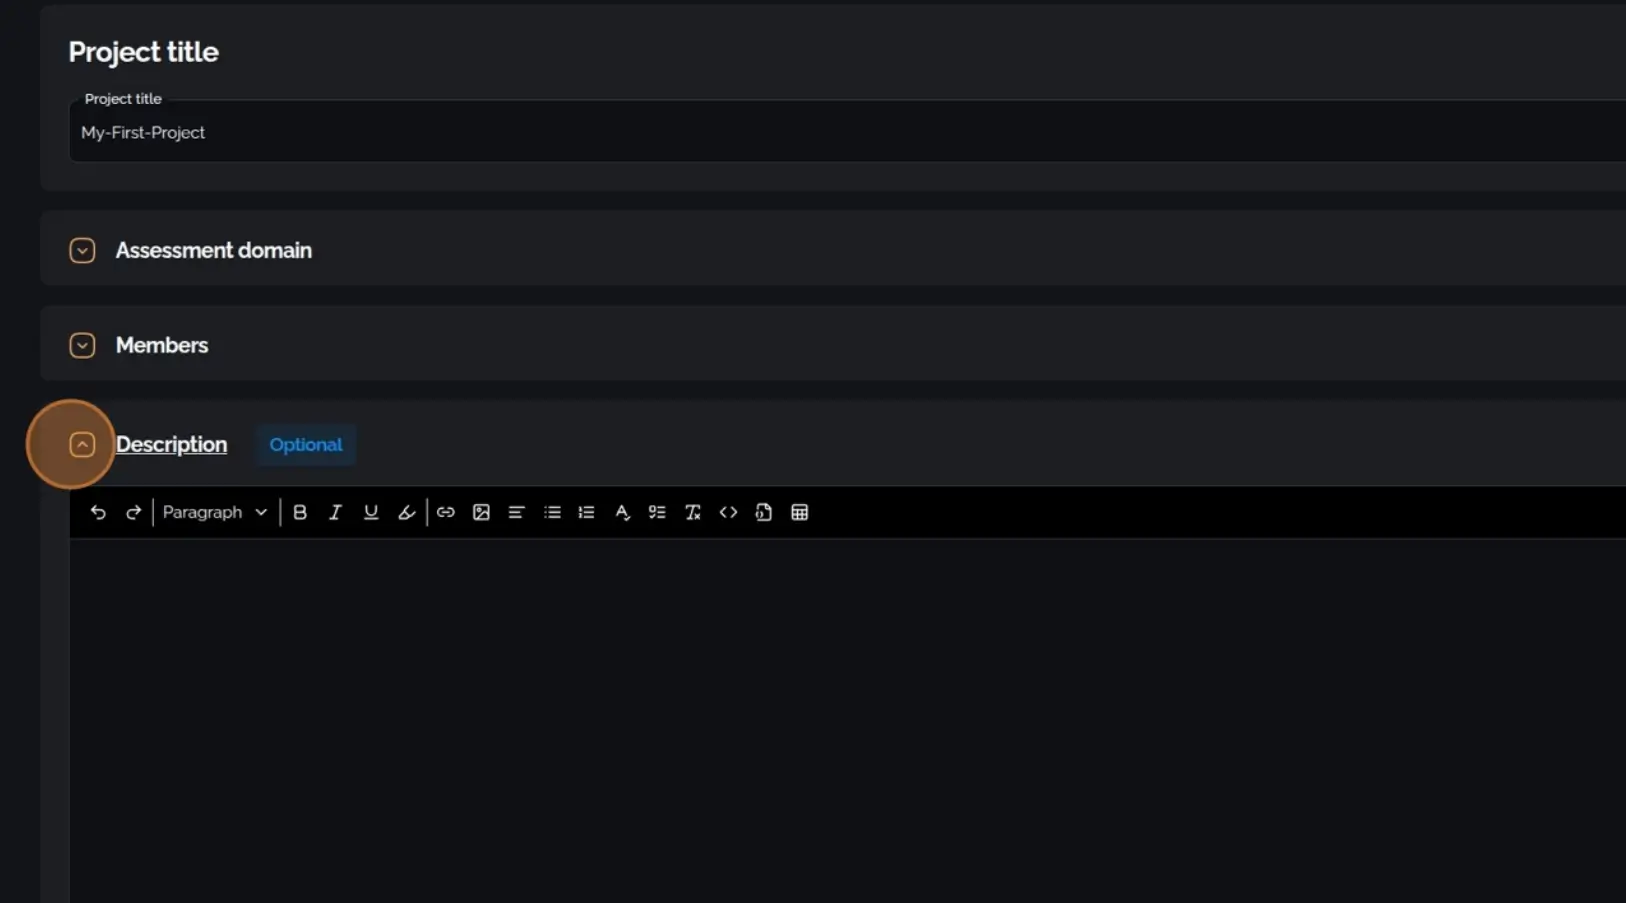
6. Add a Description (Optional)
Section titled “6. Add a Description (Optional)”Enter additional information or context about the project, if necessary.
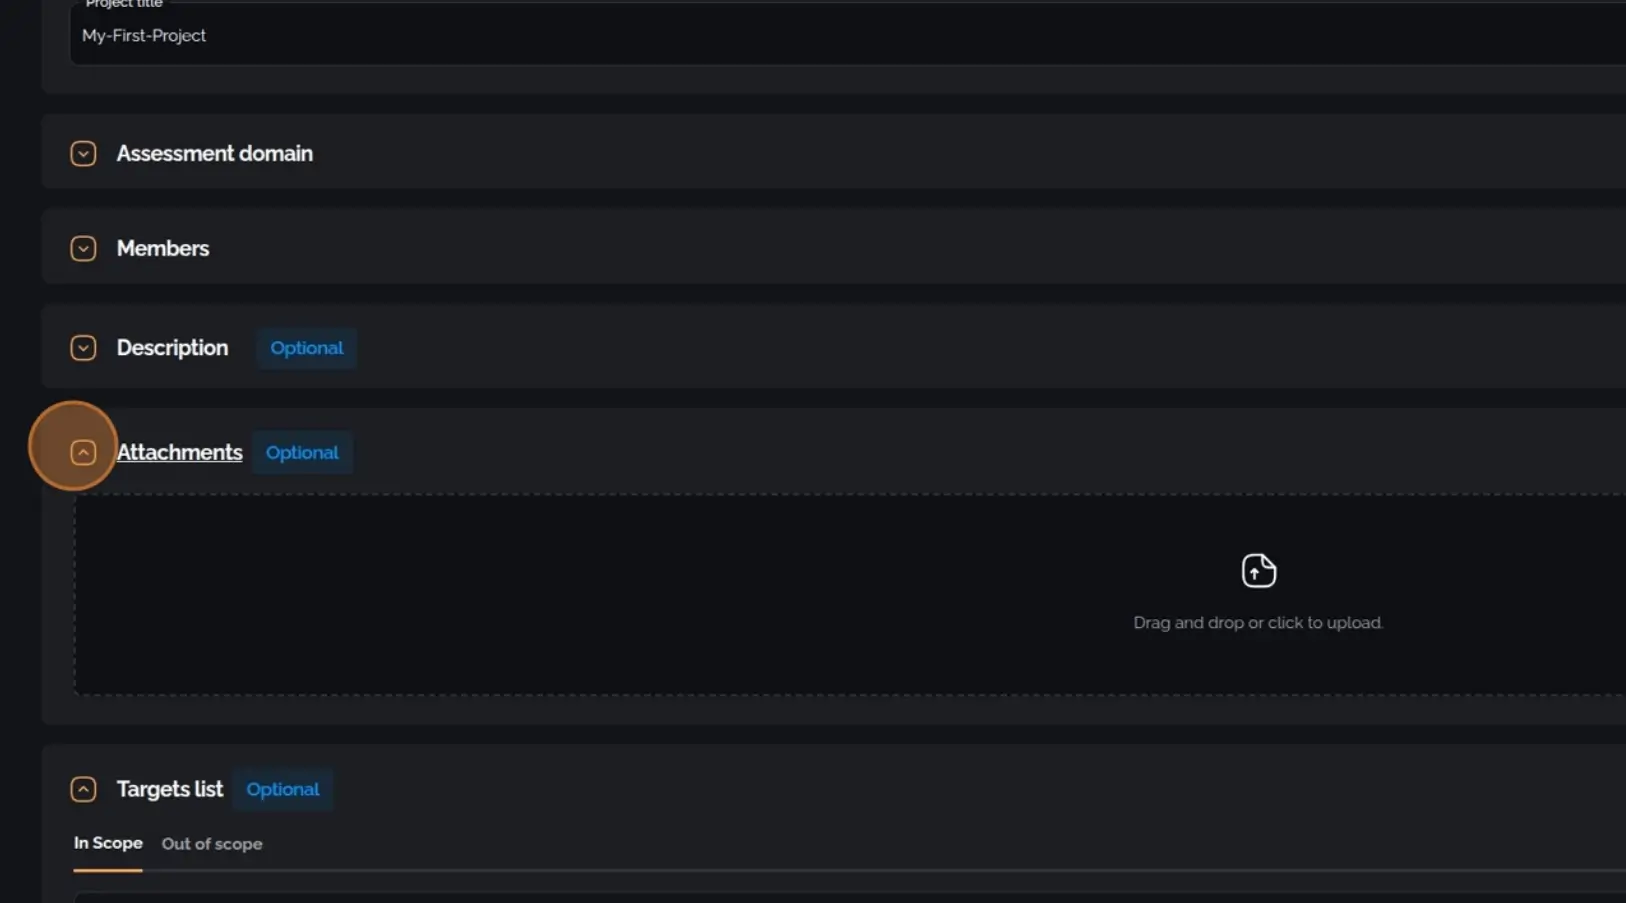
7. Upload Attachments (Optional)
Section titled “7. Upload Attachments (Optional)”Attach supporting files or documentation relevant to the project.
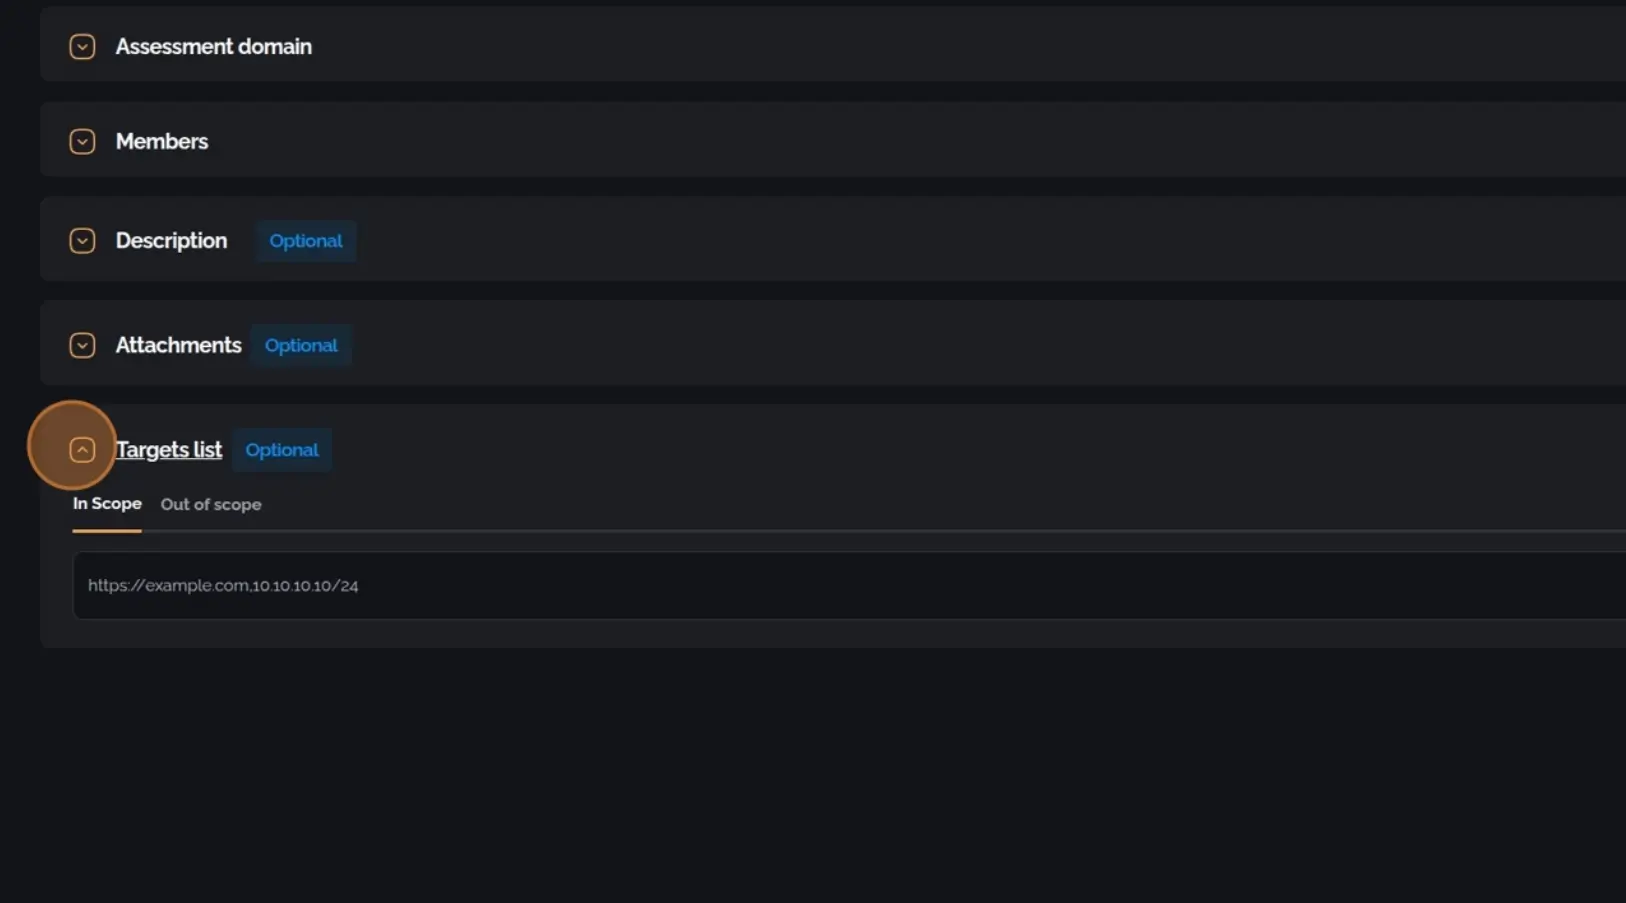
8. Define the Target Scope (Optional)
Section titled “8. Define the Target Scope (Optional)”List the specific targets that fall within or outside the scope of the project.
9. Define the Client, Status, and Date Interval
Section titled “9. Define the Client, Status, and Date Interval”Select the client associated with the project, set the project status, and define the start and end dates for the engagement.
10. Finalize Project Creation
Section titled “10. Finalize Project Creation”Click Create to complete the project setup.